12/15/2023
Understanding Git Staged Changes

Understanding Staged Changes in Git
Version control is a fundamental aspect of software development, and Git provides powerful features to manage project history. One key concept in Git is staging changes, allowing developers to control which modifications are included in the next commit. In this guide, we'll delve into the intricacies of Git staged changes.
What are Staged Changes?
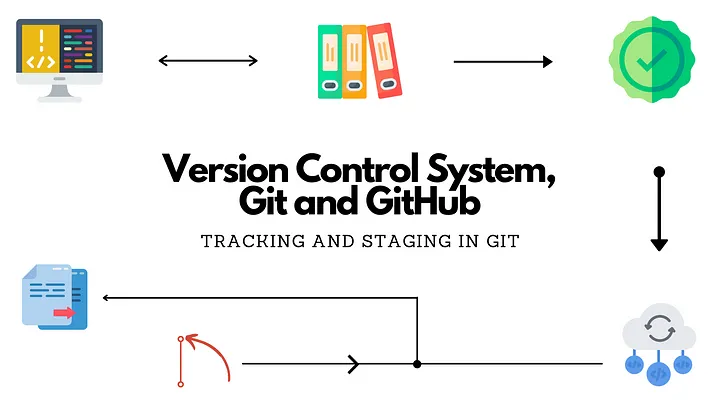
Staging changes in Git refers to the process of preparing modifications to be committed. When you make changes to your code, Git recognizes them as either unstaged or staged. Unstaged changes are those Git is aware of but hasn't prepared for the next commit, while staged changes are marked for inclusion in the upcoming snapshot of your project's history.
How to Stage Changes
- Add Individual Files:
- Use
git add <filename>to stage a specific file.
git add index.html
- Add All Changes:
- Use
git add .orgit add -Ato stage all changes.
git add .
- Interactive Staging:
- Utilize
git add -ifor interactive staging, allowing you to choose changes to stage.
git add -i
Checking Staged Changes
To view the changes you've staged, you can use:
git diff --staged
This command shows the differences between the staging area and the last commit.
Unstaging Changes
If you mistakenly stage a file or want to unstage changes, you can use:
git reset <filename>
Committing Staged Changes
Once you're satisfied with the staged changes, commit them using:
git commit -m "Your commit message here"
Conclusion
Mastering the art of staging changes in Git provides a flexible and efficient way to manage your project's history. By selectively choosing which modifications to include in each commit, you maintain a clean and organized version history that reflects the logical progression of your development work.